Wall murals are a fantastic way to add personality and visual interest to your space. But what if you want to take it a step further and transform your mural into a unique piece of artwork? By framing your mural, you can elevate its presence, create a focal point, and give it a polished and gallery-worthy look. In this blog post, I will share with the mural I selected to create into an art piece in our dining room and guide you through the process of turning your mural into a stunning framed artwork that will be the envy of all who see it.
Imagine stepping into a dining room that exudes a sense of tranquility, where the natural world seamlessly blends with your indoor living space. A botanical-inspired dining room can be the perfect sanctuary for enjoying meals, entertaining guests, or simply reconnecting with nature. When selecting a mural for this dining room, I explored various landscapes to help create the mood I wanted to exude in the dining room. A space that feels botanical, bringing the beauty of the outdoors inside.
Designing a dining room that exudes an open and airy ambiance while incorporating botanical elements and an elegant touch can elevate your dining experience. I will guide you through the process of transforming your dining room into a refreshing and sophisticated space that combines natural beauty and timeless charm. By following these tips and ideas, you’ll be able to create a dining area that is both inviting and visually appealing. I will also share how I came with selecting the wall paper mural that ties in the look of the dining space.
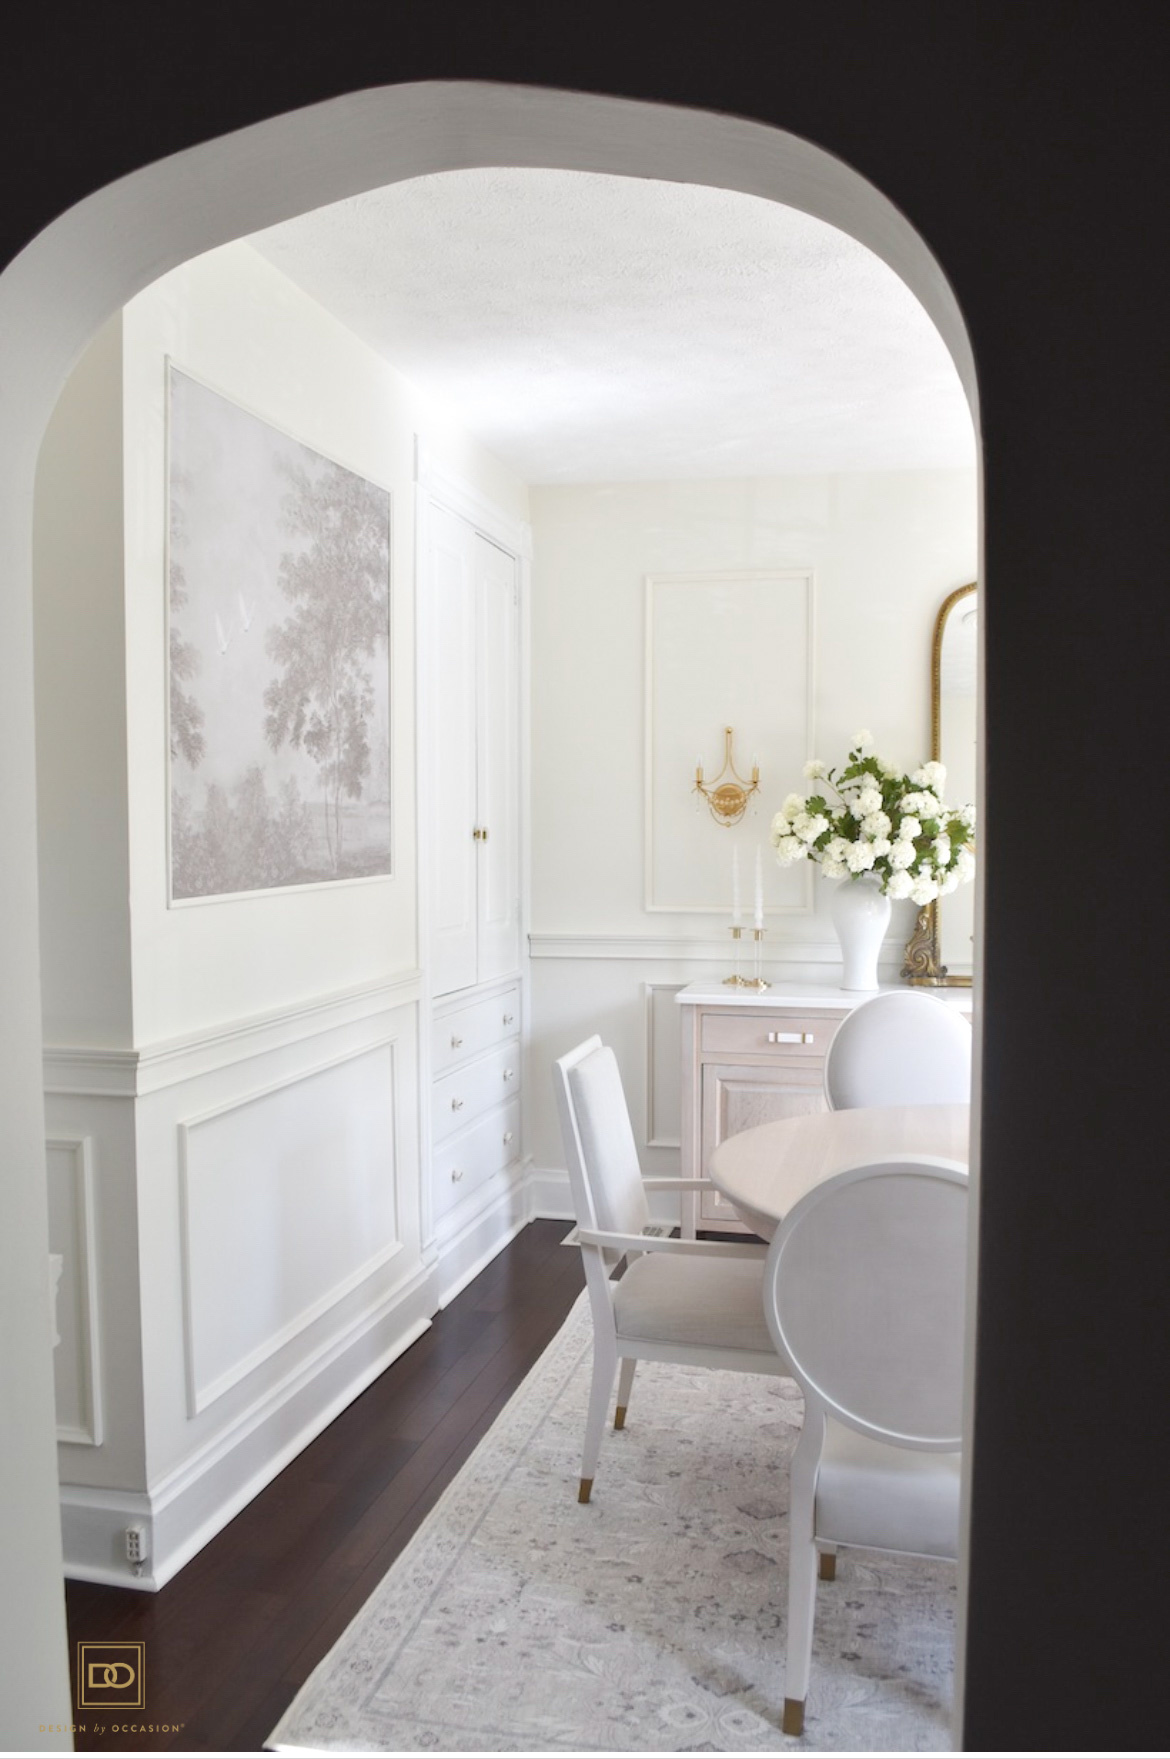
- Selecting the Right Color Palette: To achieve an open and airy feel, opt for light and neutral colors as the foundation of your dining room. Shades such as white, cream, beige, or light gray work well to create a sense of spaciousness. These colors also provide a blank canvas for botanical and elegant accents to shine. To achieve this, the walls were painted in a soft and light cream color (‘White Dove’ by Benjamin Moore).
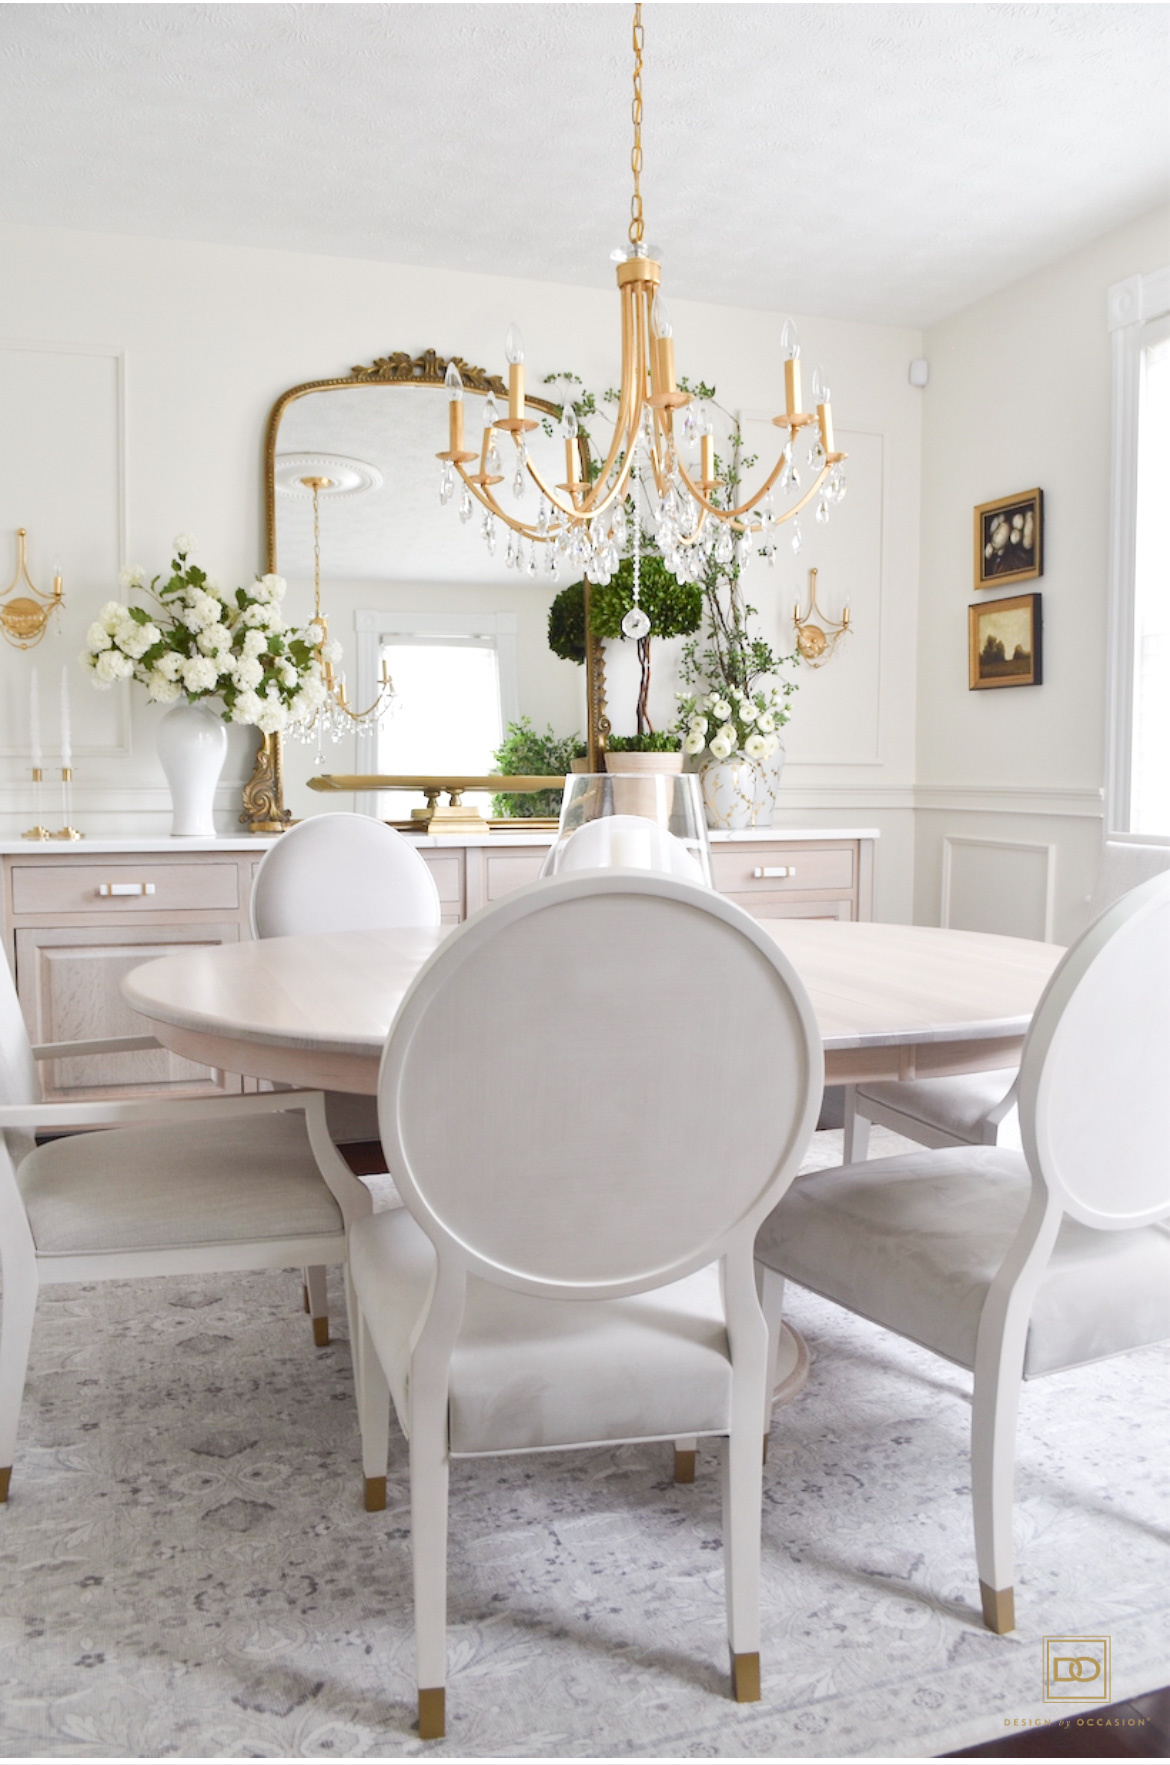
- Choose Light and Airy Furniture: When selecting furniture, opt for pieces that are light in color and design. Furniture with slim silhouettes and minimalistic features can contribute to an open and airy ambiance. Our previous dining room set was a dark mahogany wood. When we redecorated this room last summer, we went with a White Oak dining table and had it stained in ‘Frost’ to create a sense of open space. Light-colored chairs with upholstered seats can add a touch of elegance while maintaining an airy feel.
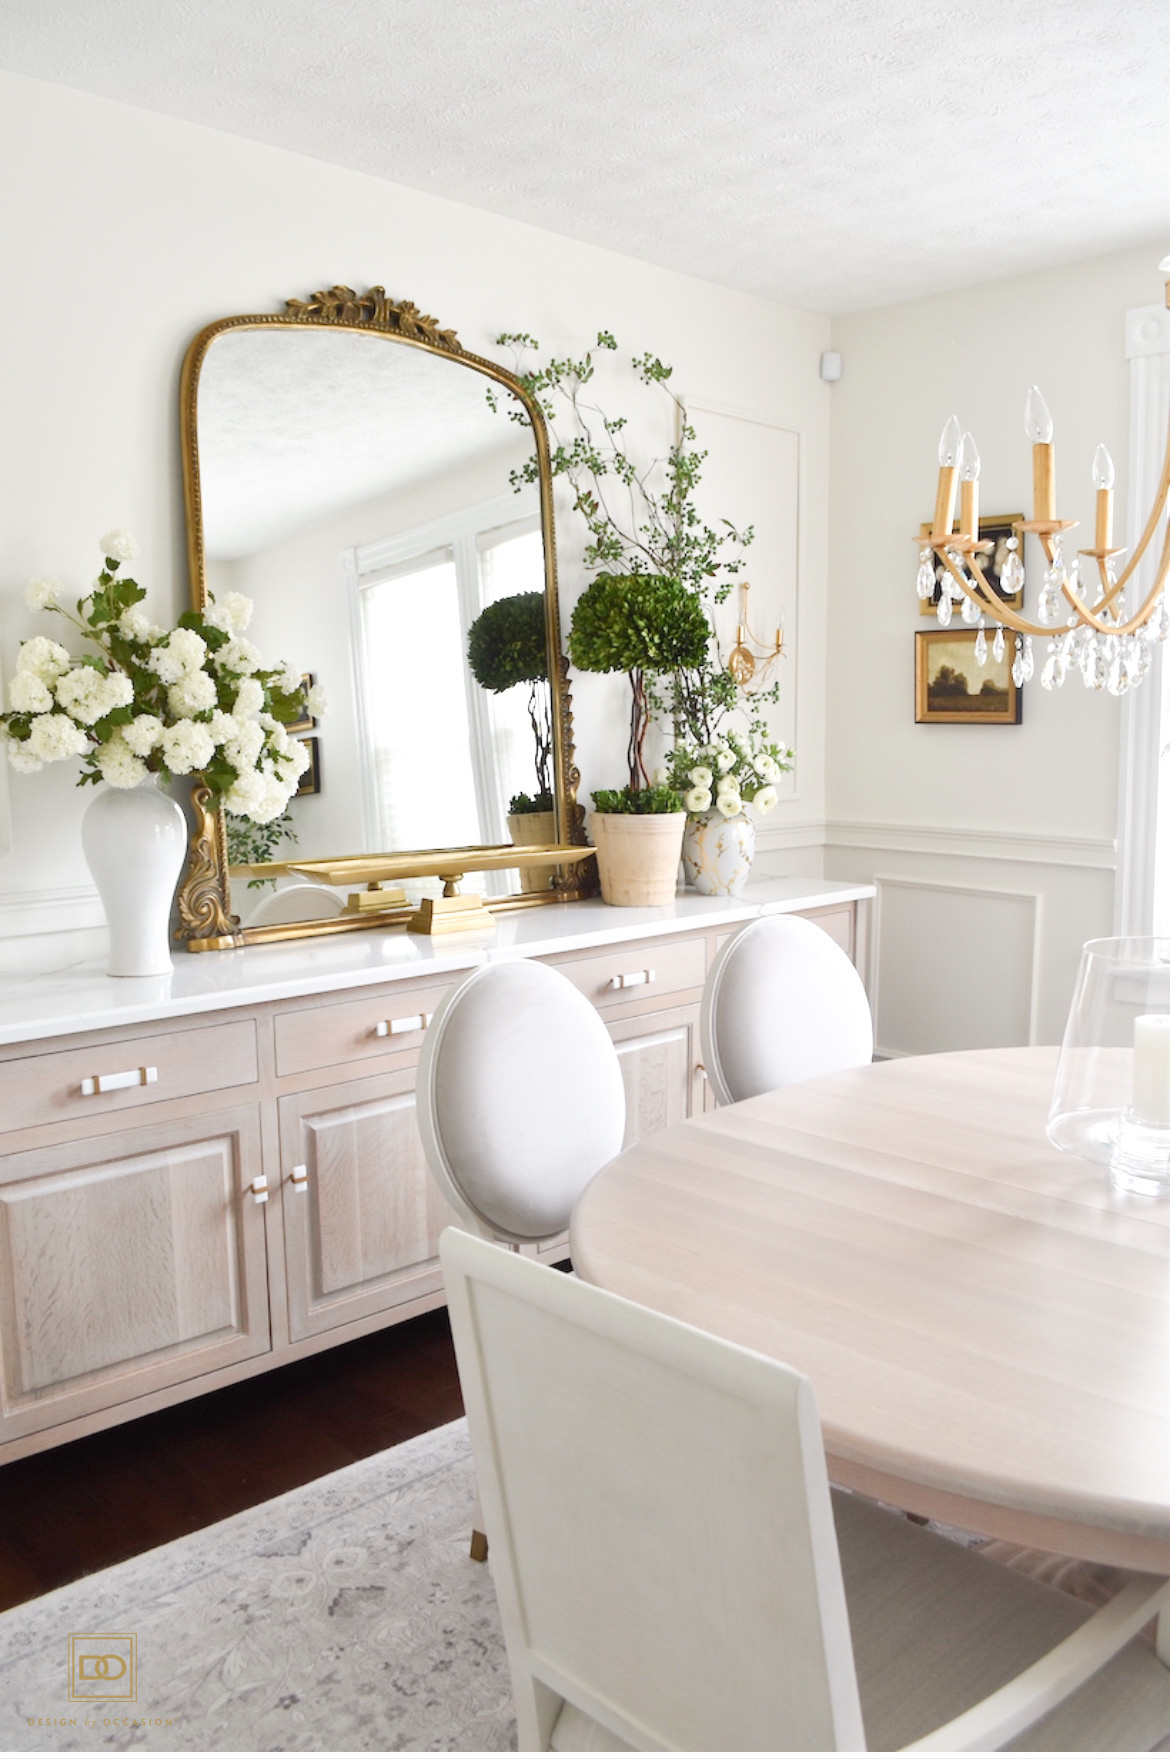
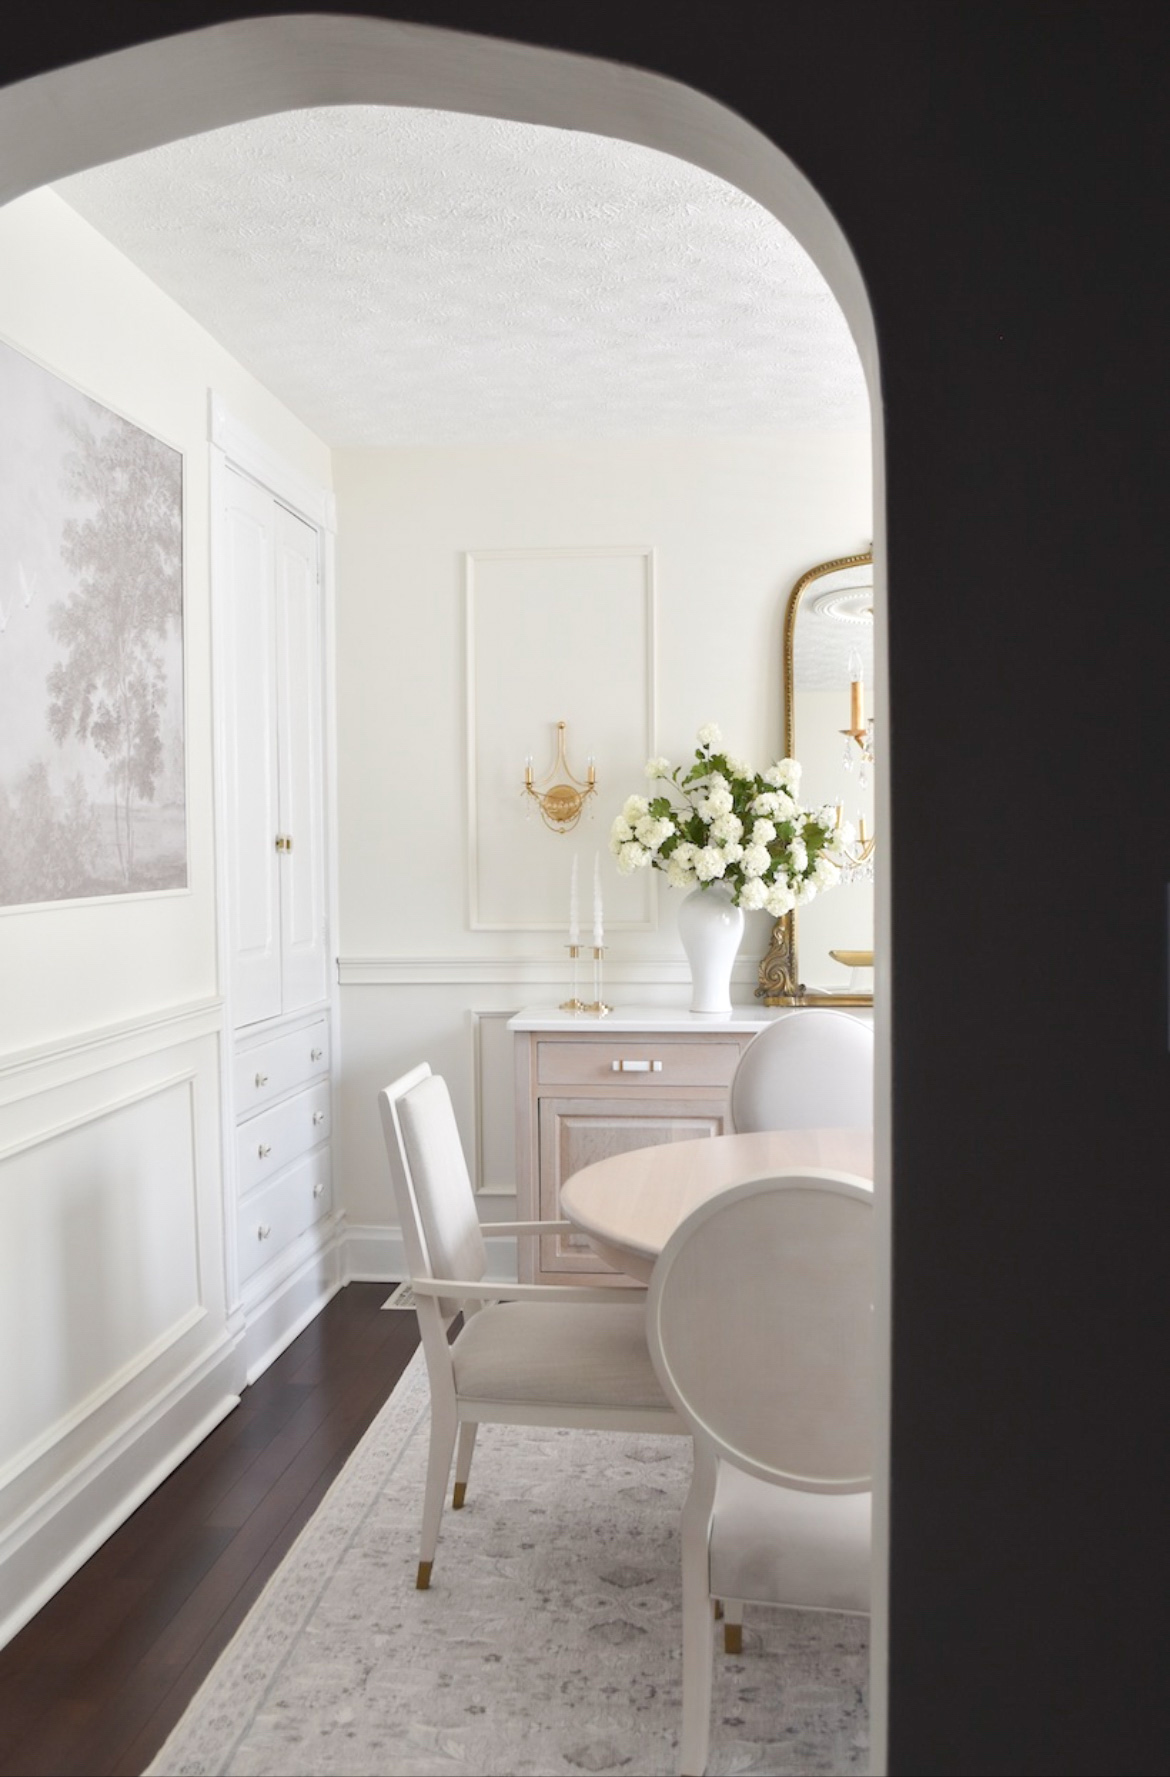
- Embrace Natural Colors to use as Accents: To achieve a botanical ambiance, start by selecting a color palette inspired by nature. Earthy tones like shades of green, brown, and beige serve as an excellent foundation. These colors evoke a calming and organic atmosphere, providing a backdrop for the botanical elements you will introduce. In order to achieve this, I first selected beautiful botanical and landscape oil painted art that was printed on canvas paper. Then, I had them framed without a glass front so that it appears to be more original. The colors of these framed art pieces bring in the deep green and natural browns. To accent the dining space with more natural colors and bring in the botanical feel, I styled our buffet cabinet by displaying a vases filled all-white, life-like blooms, such as Snowball Viburnum and Ranunculus, a preserved boxwood topiary and faux climbing vines.
- Let in Natural Light: Maximize the amount of natural light entering your dining room by keeping the windows uncovered or using sheer curtains. If privacy is a concern, install blinds that can be easily adjusted. Natural light not only brightens the space but also connects you with the outside world, making the botanical theme feel more authentic and refreshing.
Creating an open & airy botanical and elegant dining room space requires a thoughtful blend of color, natural elements, and refined touches. By selecting the right color palette, incorporating greenery, choosing light furniture, utilizing natural materials, and enhancing lighting, you can transform your dining room into a serene and sophisticated haven. Remember to keep the space clutter-free and pay attention to small details to complete the overall aesthetic.
Choosing the perfect Wall Mural for your space
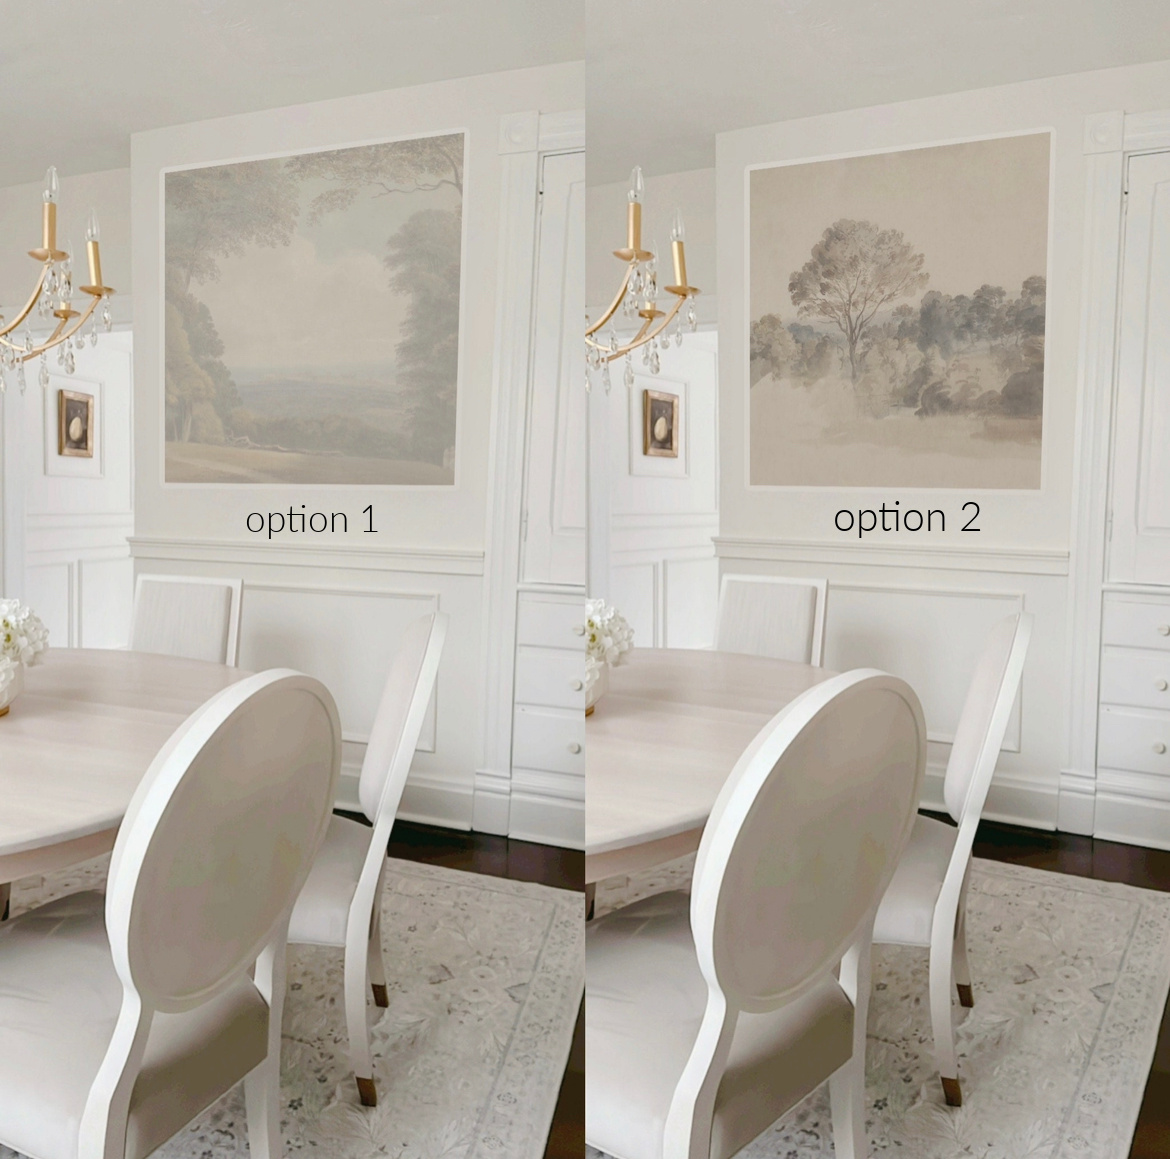
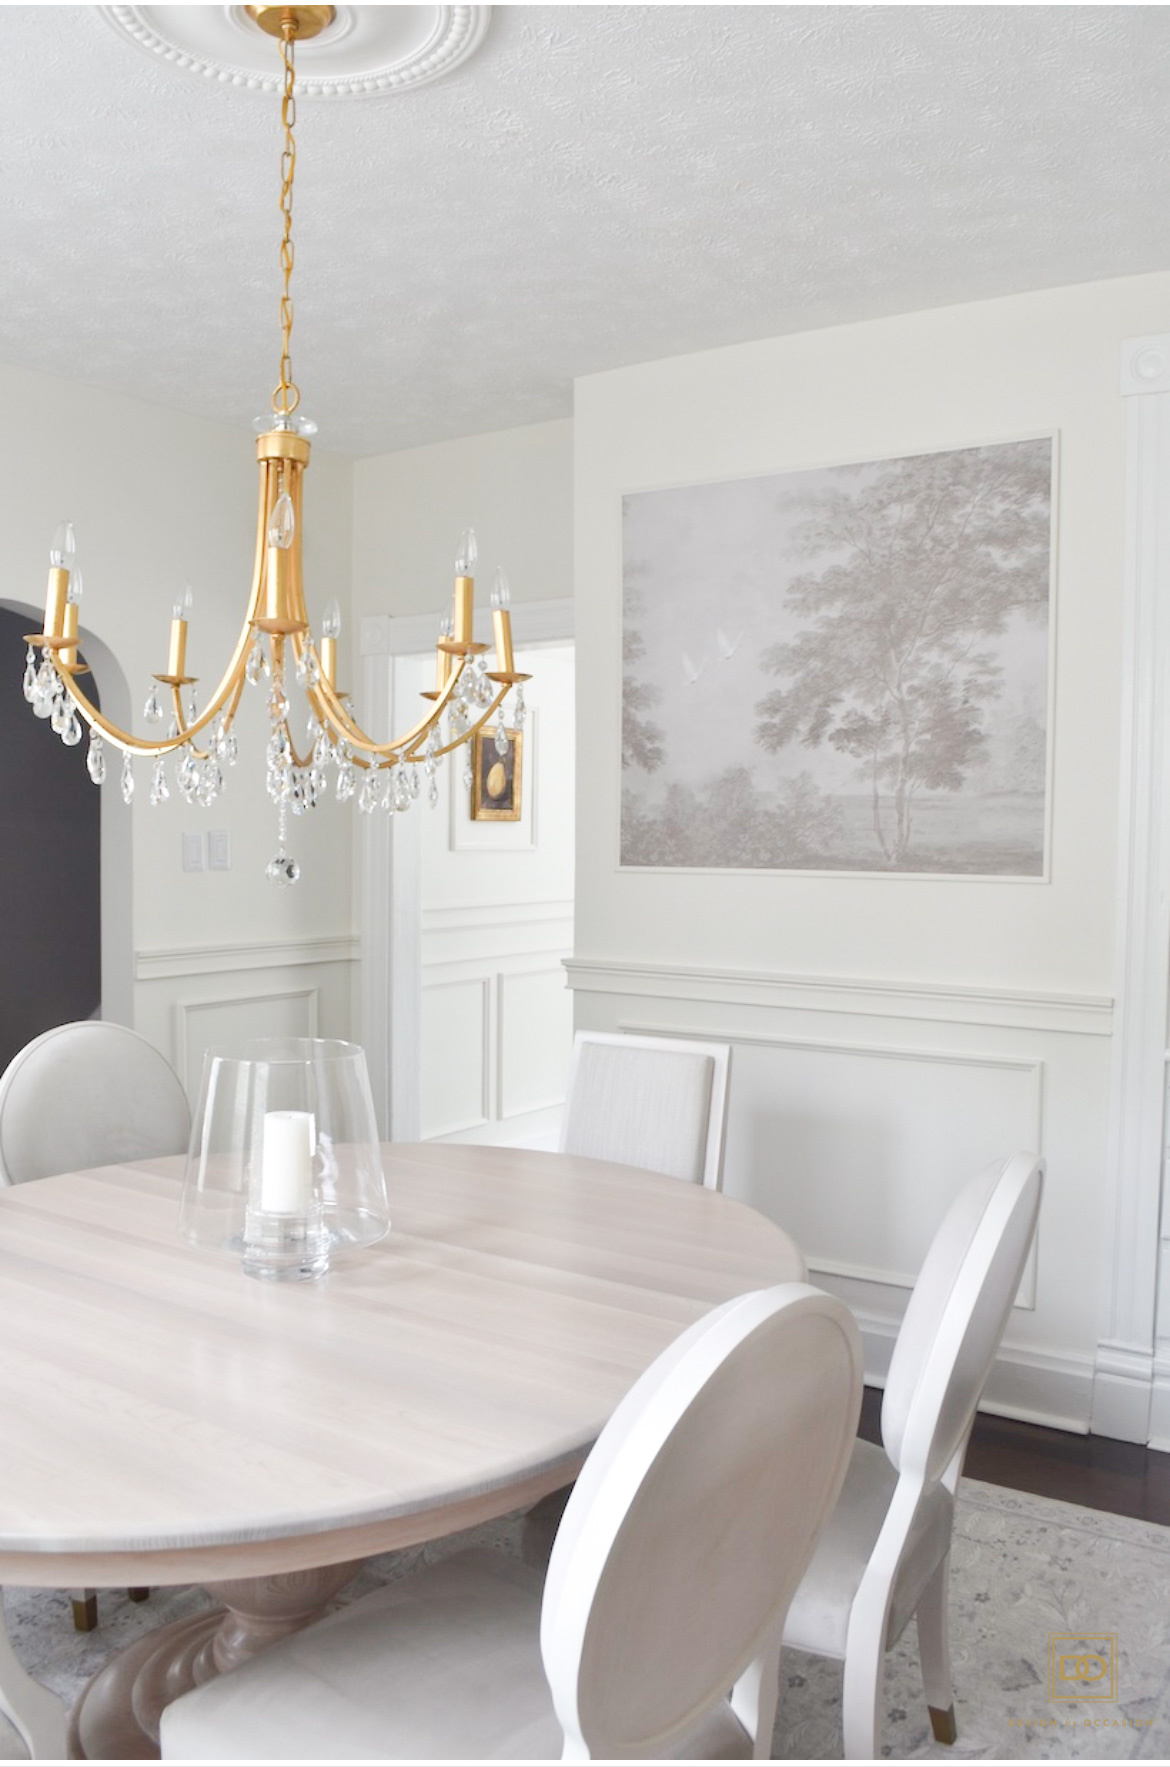
As you see above, we had this good amount of wall space in our dining room that needed a large piece of art work. I was finding it a challenge because either the art was to pricey, not large enough, or didn’t have the right landscape in the color hue I was looking for. That was until I found an Etsy shop that had so many choices! I narrowed it down to two… (Landscape, Watercolor subtle wall mural and the Tree Wall Mural. The best part of these Murals is they are removable and easy to install! I ordered a sample of the first one but then when I installed it on the wall, it didn’t pull on my heartstrings. Although beautiful, I felt another landscape would suit the dining space better. The second option, while also beautiful, I felt the color hues felt a bit like the fall season, and I didn’t want that.
But then found the perfect one! I went with the ‘Timeless Sepia Wallpaper Pattern‘. I was able to have the mural customized to the size I needed and had the color tones adjusted. It shows more grey in the pictures but the true color has more of a sage green undertone.
The Final Choice!
Choosing a Mural and framing it like an Art piece
Step 1: Before you begin, ensure that you have chosen a mural that you truly love and that complements the overall style and theme of your space. Consider the colors, patterns, and subject matter that resonate with you and the ambiance you wish to create. There are numerous online and home decor stores that offer a wide range of options, from panoramic landscapes to abstract designs and everything in between.
Step 2: Measure and Plan: Measure the dimensions of your mural to determine the appropriate frame size. Take into account any additional space you want to leave around the mural for spacing within the frame. It’s important to have these measurements handy when selecting a frame.
Step 3: Choosing the Frame or Using Wood Trim: Visit your local framing store or browse online to find a frame that suits your mural and enhances its aesthetic appeal. Consider the color, material, and style of the frame. Another option, which I did here, is purchased wood trim, cut it to size, painted it the same color as our wall color and install it. Ensure that the frame or trim you choose is the correct size for your mural.
Step 4: Installing the Mural: If using one of the removable murals from here, be sure your wall is clean and dusted. Carefully follow the instructions that will be included with your mural shipment.
Step 5: Framing the Mural: Once our mural was installed, we carefully measured, aligned, and leveled all four wood trim pieces to the wall. If using frame, hang the frame using appropriate hooks or hardware, ensuring it is level and securely mounted.
By transforming your mural into a framed artwork, you can turn a simple wall decoration into a captivating centerpiece. Get ready to enjoy the admiration and conversation that your framed mural artwork will undoubtedly inspire in your home.
With these tips, you’ll be on your way to enjoying a delightful dining experience in a space that seamlessly combines nature’s beauty and timeless elegance.


Leave a Reply