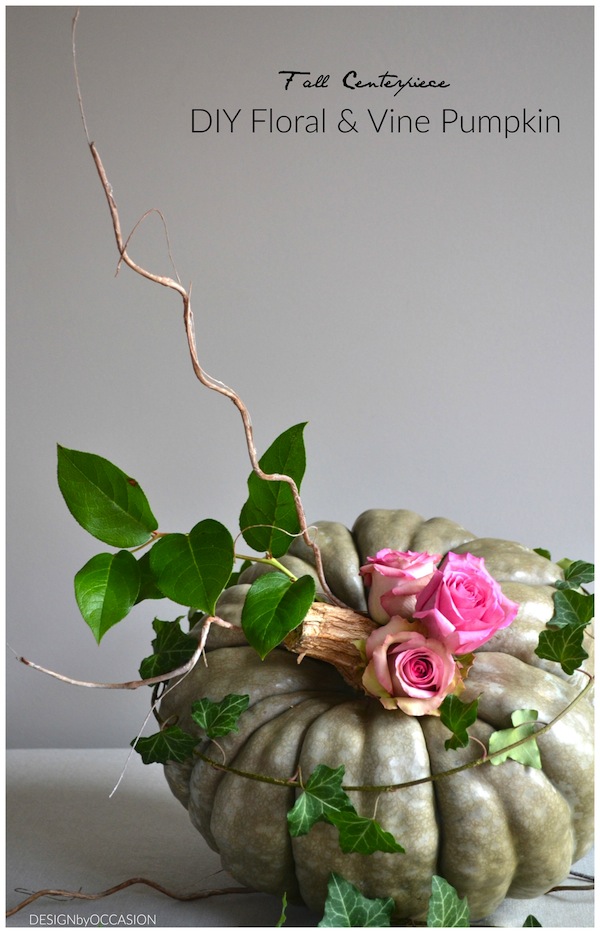
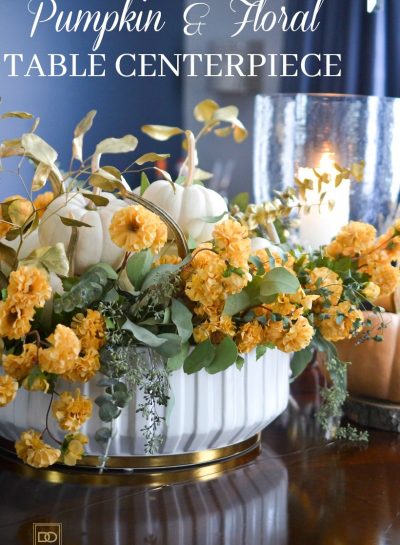
Looking for a centerpiece to use for your dining or buffet table this Thanksgiving? By embellishing your pumpkin with certain florals and greenery, you can transform an ordinary pumpkin to one that adds a bit of whimsy, dimension and life. Take a look below on how I created this DIY Floral & Vine Pumpkin.
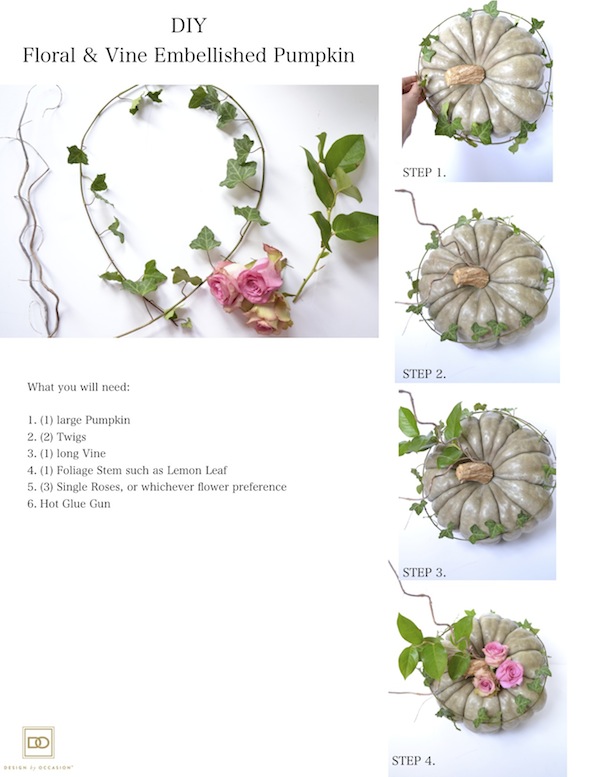
When picking your pumpkin to decorate, it will be best to choose one with a large stem.
Step 1. Like a belt, wrap the vine around the circumference of the pumpkin and measure how tight it will need to be so that it can drape on the mid-part of the pumpkin. With your fingers, hold the vine in place to where you will need to glue one end to the vine and carefully lift the vine off the pumpkin. Take your glue gun and release a dot of glue to create a ring.
Step 2. Take one of your twigs and with your hot glue gun, release a dot of glue at the end and adhere to the bottom-side of the pumpkin stem. Repeat the same with the second twig, leaving space between the two for the greenery in step 3..
Step 3. Release a dot of glue to the end of your greenery stem, place in between the twigs and adhere to the bottom-side of the pumpkin stem.
Step 4. Hot glue the rose buds (or the blooms of your choice) on the right side of the pumpkin, creating a cluster. Be sure to adhere the buds close to the pumpkin stem.
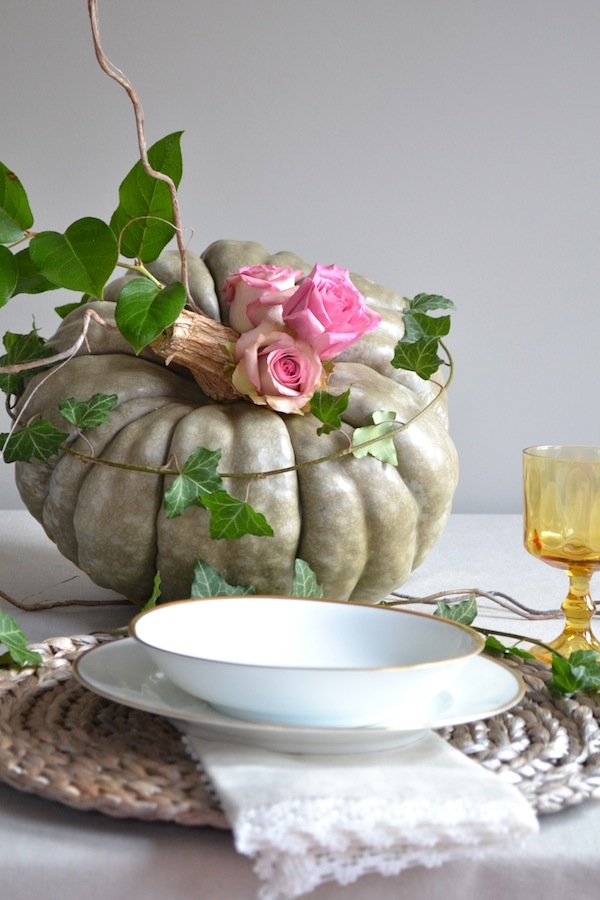
And voila! I love how the combination of florals, vines and twigs appear as if they grew naturally on this pumpkin!
Have fun creating your embellished pumpkin!
-Photos and DIY by Rose Angel Lopez


Leave a Reply