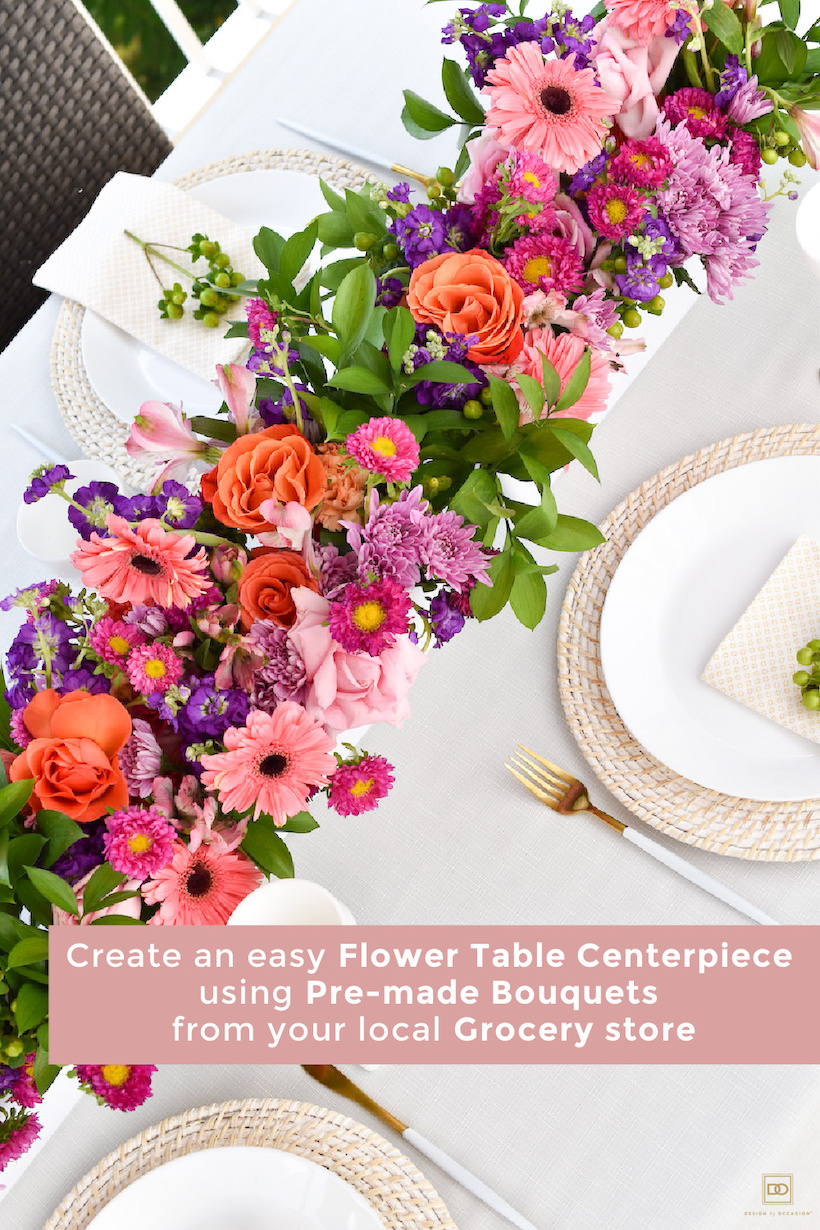
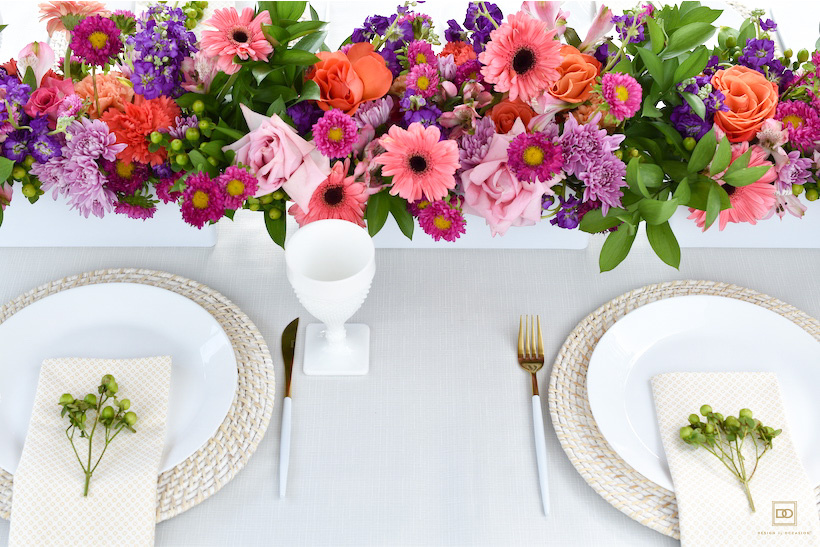
I received the most generous birthday gift this past weekend from one of my lovely followers on Instagram…beautiful bouquets of flowers that were waiting for me to pick up at Giant Eagle – my local grocery store! The bouquets included a variation of blooms in an array of summer colors. I was beyond surprised by how many flowers there were and so deeply touched by her kindness (insert cry face emoji)!!
These flowers were looking to be the center of attention…I was inspired to create a casual, outdoor summer tablescape, that showcased these blooms front and center!
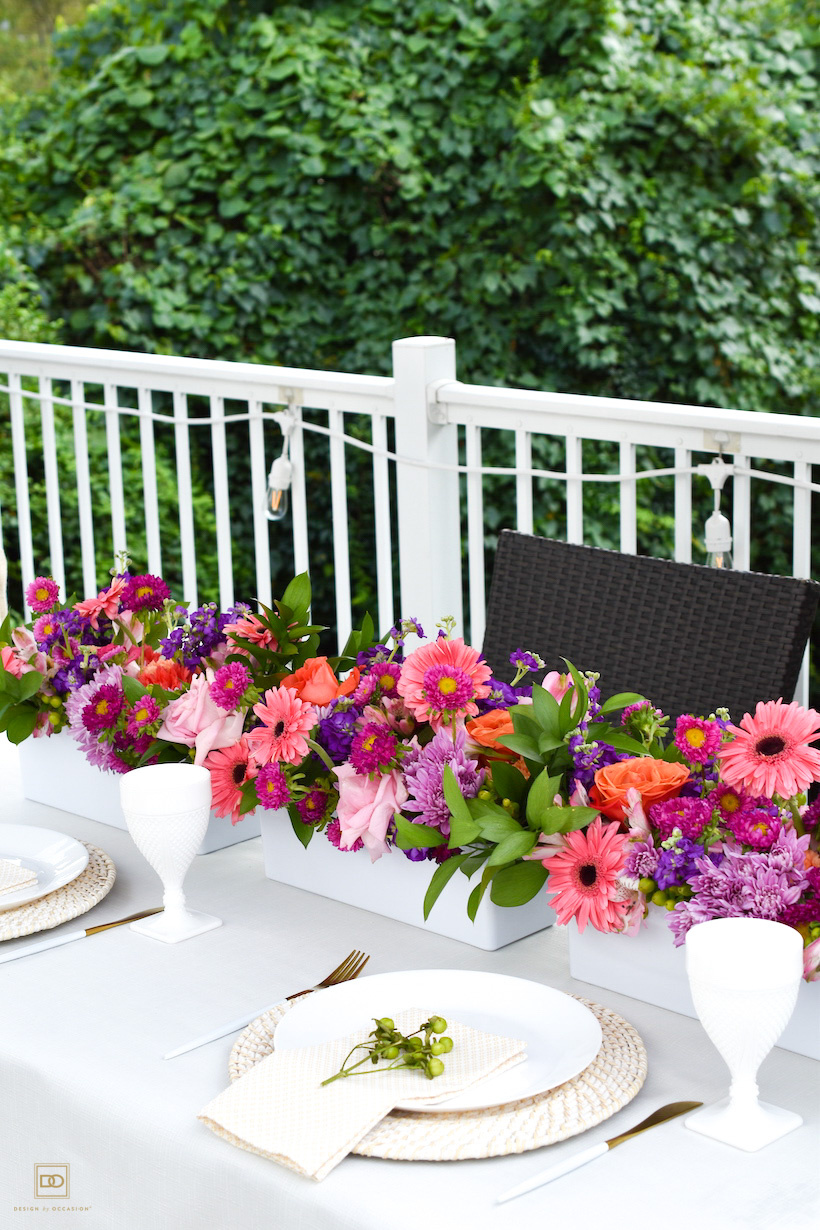
Setting up your table for a dinner party, just got easier with pre-made flower bouquets!
HOW I CREATED THIS DIY FLORAL TABLE CENTERPIECE
- The first thing I did was grabbed these white acrylic rectangular planter boxes that can be used as vases. I wanted to create the look of a “table runner” cascading down the center of the table so I used three of these boxes.
- There are two ways to secure your flowers into these boxes…
- Option 1: use Wet Floral Foam. Using a knife, you will want to cut the foam to size so that it sits firmly in each box. Once they are all sized, remove the foam and submerge it in a pail of water for at least an hour or two so that the foam fully absorbs the water. Once the foams have had a chance to retain all the water, place each one in the flower box.
- Cut your flower stems to size (Tip: cut them to a point where they are not too tall because you don’t want them to obstruct the view of your guests sitting at the table).
- Have fun placing each stem securely into the wet foam. You can arrange by color, by bloom or simply alternate, creating a wild flower/garden type feel to the table centerpiece – which is what I did here.
- Option 2: use the Scotch Tape technique. This is what I did when creating these flower arrangements. Begin by filling your vases/planter boxes with lukewarm water.
- Using your tape, you will want to create a grid on top of the vase opening in a tic tac pattern. Cut strips of tape and begin placing it across the vase in a grid with tape strips going in one direction and then the same amount going in the opposite direction. You will want to cut enough tape to stick to the edges of the container so that it can secure the grid in place. This supportive grid will help hold flowers in place while you arrange them.
- In order for each arrangement to look natural, I did not cut every flower stem the same exact size. For some of the blooms that have a slight curve to it, like the Chrysanthemum pompons and the Gerber Daisies, I would have them stand taller than the others – creating a more natural look verses a tight-formed arrangement.
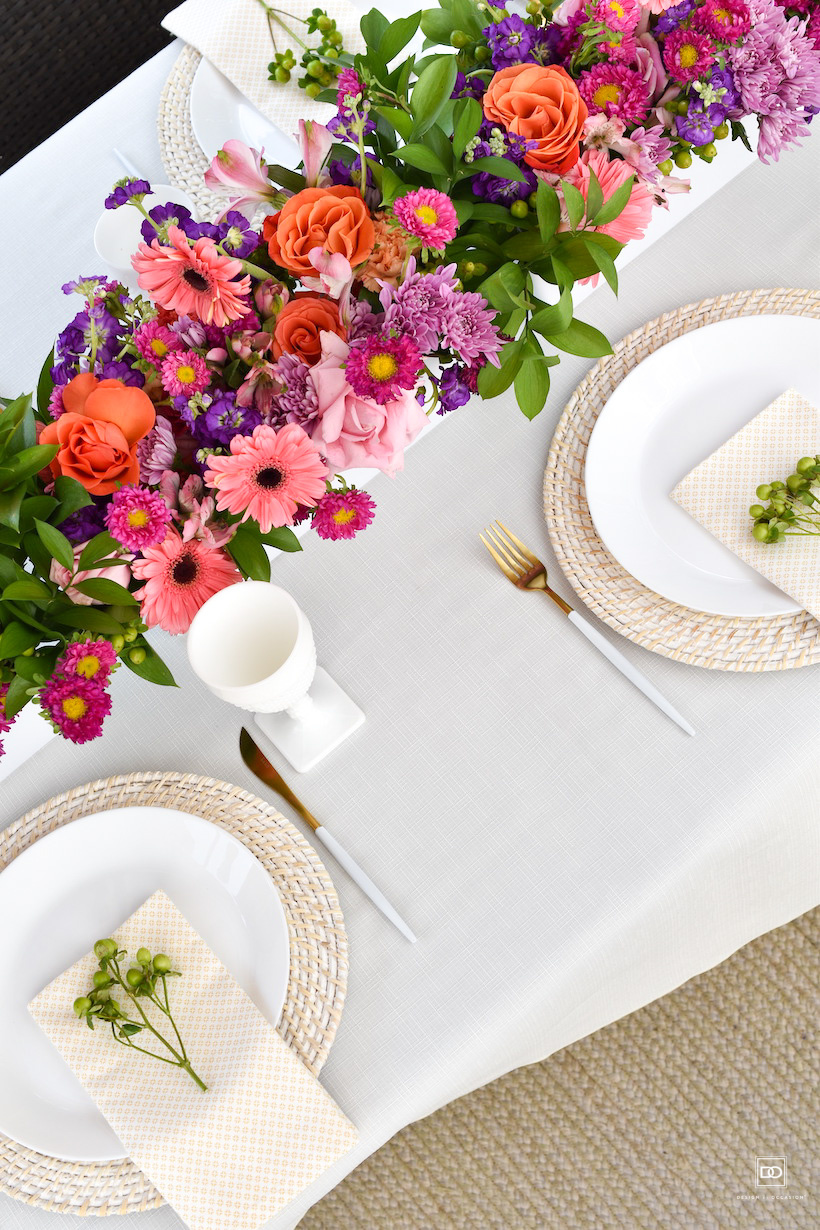
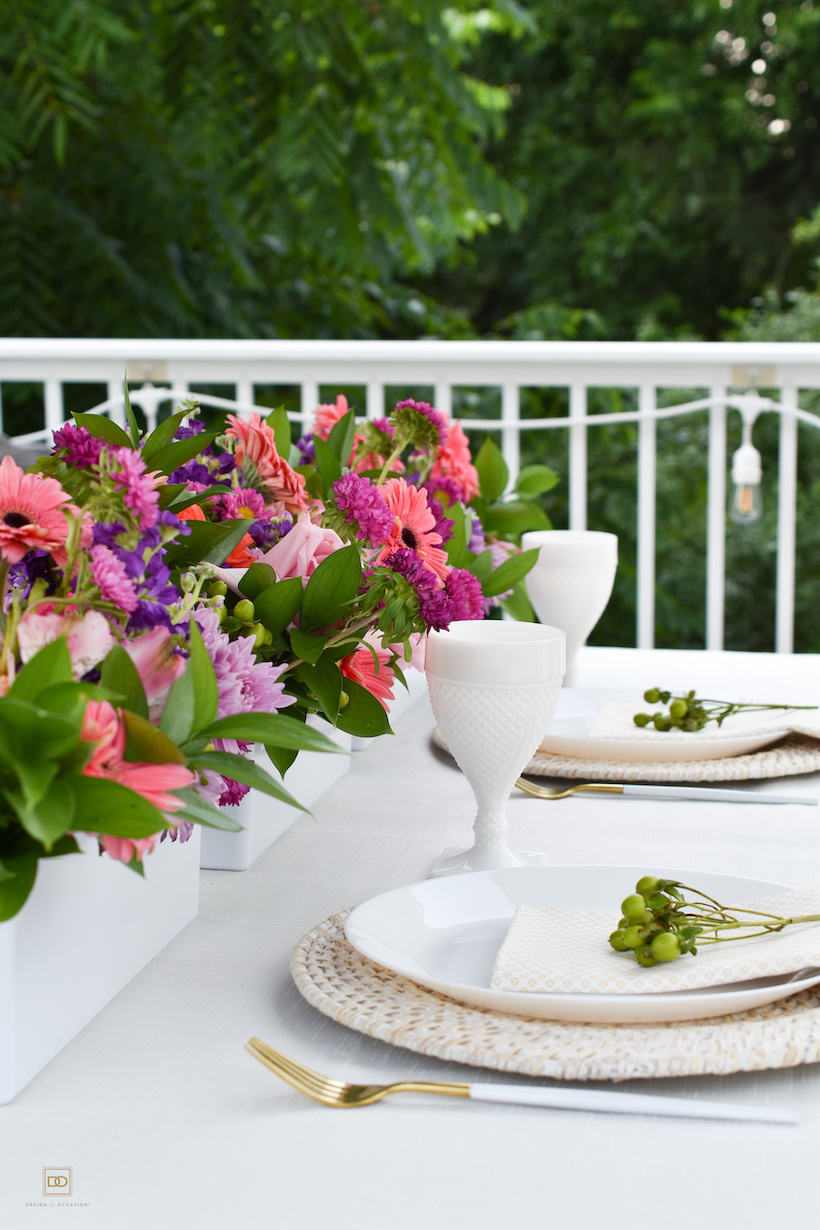
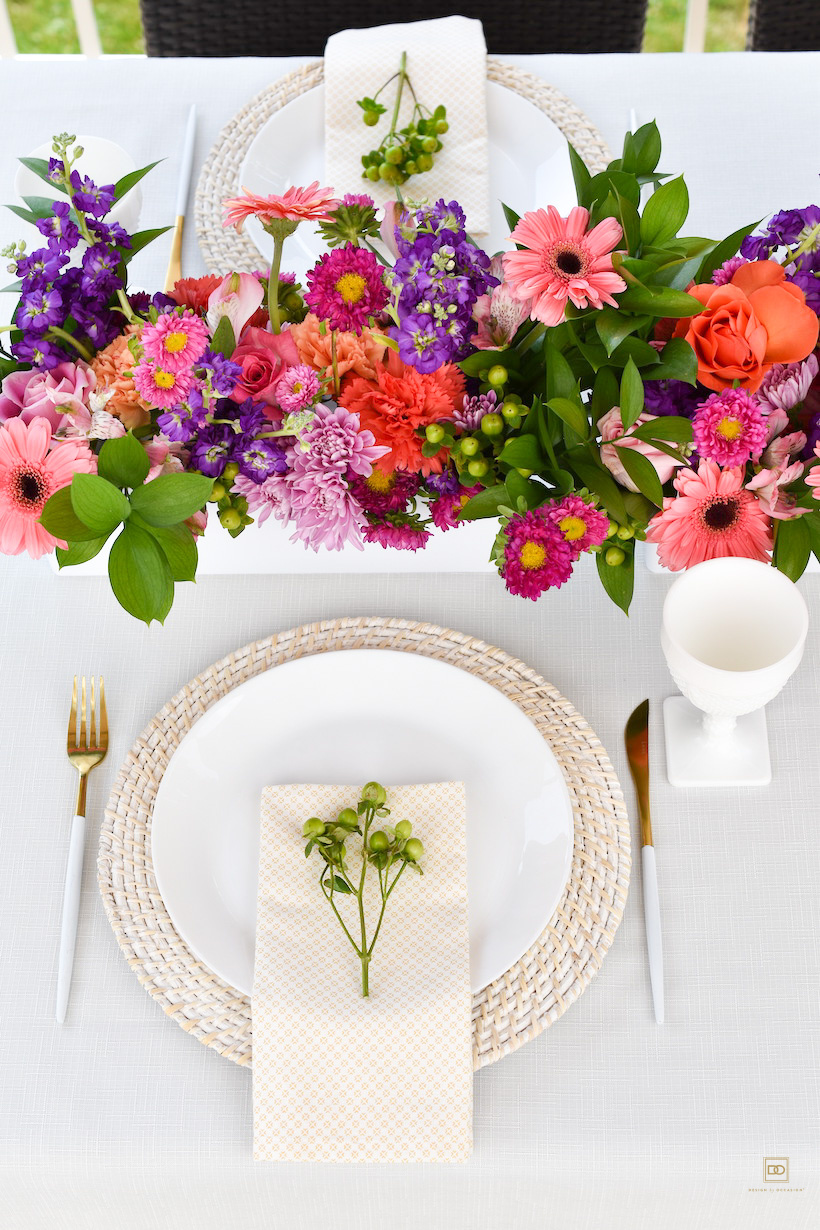
In order for the flower arrangements to stand out, I kept the color scheme for the table neutral with the linens and place settings. I decided to go with hues of creams, white, and a hint of pale yellow for the dinner napkins that tied in with the gold & white flatware. The wicker plate chargers brings in that natural element to the table, keeping it a casual setting.
Whether you’re hosting an impromptu outdoor luncheon or a planned alfresco dinner party, don’t overlook the pre-made flower bouquets at your local grocery store. I hope you’ve been inspired to create your own arrangement(s) using this flower table centerpiece idea! The best part…you can decorate different spaces of your home with these vibrant arrangements or place them all on your indoor dining table!



Leave a Reply